
Pruning
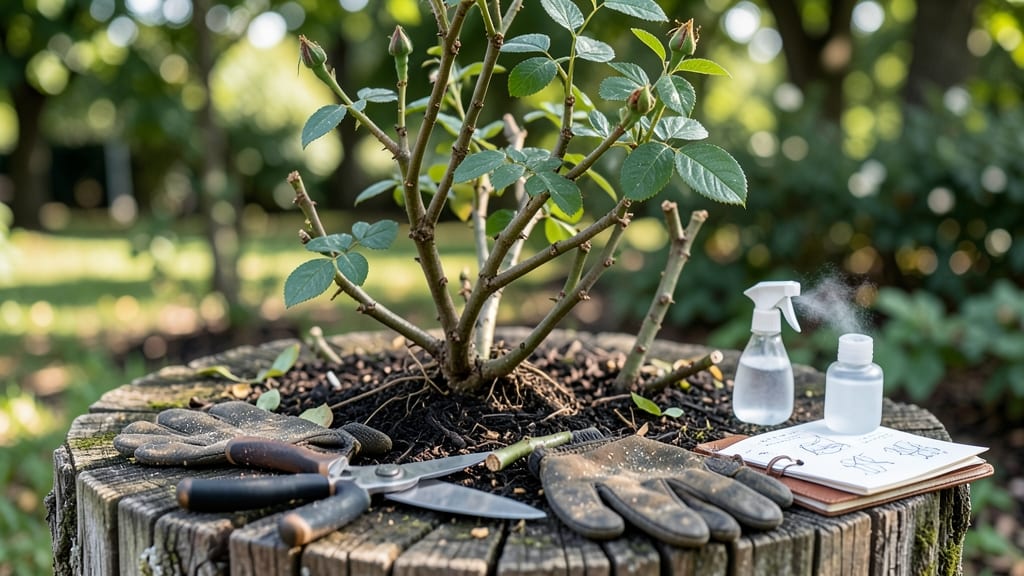
How to prune a climbing rose bush for winter transforms your tangled mess into a spring superstar. ✂️ I’ve pruned these beauties for years, and the key is timing, sharp cuts, and strategic thinning—not just hacking away at random branches. The right approach ensures vigorous blooms by June, not leggy stems fighting for sunlight.
You’ll need clean pruners, rubbing alcohol, and twine—plus a clear day when temps hover above freezing. The goal is to open up the center for airflow, remove dead wood, and shape the bush so sunlight reaches every cane.
Most climbers need 25-30% of their growth removed, but don’t overdo it—you’re sculpting, not deforesting.
After pruning, you’ll see fresh red shoots by early spring, with blooms arriving weeks ahead of unpruned bushes. The secret? Cutting at a 45-degree angle just above an outward-facing bud, and sealing larger cuts with pruning sealant to prevent disease.
It’s the difference between a bush that struggles and one that thrives.
Works for all climbing roses—whether you’ve got a Blaze of Noon or a New Dawn—and pairs perfectly with winter mulching. Here’s how to do it without turning your yard into a rose-shaped disaster.
📚 In This Guide
- What you need
- Instructions
- Tips and common mistakes
- Wrapping up and next steps
What you need
- ● Pruning shears (bypass pruners): Sharp, high-quality shears (e.g., Felco or Corona) with a 6–8" blade—1 pair.
- ● Loppers: For thicker stems (½–1.5" diameter)—1 pair with a 6–8" blade.
- ● Pruning saw: For stubborn, thick branches (1.5"+ diameter)—1 handheld or folding saw.
- ● Gloves: Garden gloves with reinforced palms (cut-resistant)—1 pair.
- ○ Disinfectant: Rubbing alcohol (70%+) or pruning sealant (optional but recommended)—small bottle.
- ● Ladder or step stool: For reaching high branches (4–6 ft tall)—1 stable unit.
- ● Heavy-duty trash bags: For collecting pruned branches—2–3 bags.
- ● Pruning paint/sealant: For sealing large cuts (prevents disease).
- ● Hand sanitizer: To clean hands between cuts (keeps tools and plant healthy).
- ● Notebook & pencil: To sketch a quick pruning plan or track cuts.
- ● Mulch: Shredded bark or compost (2–3 inches) to protect the base after pruning.
Step-by-Step instructions for pruning a climbing rose bush for winter
Here's the method I rely on to revitalize climbing roses—focused on sharp cuts and strategic canopy balance.
✂️ Step 1: Gather Tools and Assess the Canopy
Start with clean, sharp pruning shears and a sturdy ladder. I always disinfect my tools with rubbing alcohol first—this prevents spreading disease between cuts. Examine the rose's structure: identify the main stems (canes) and lateral branches that form the climbing framework. Look for dead, crossing, or weak growth that needs removal immediately.
Climbing roses develop long, flexible canes that need support. I mark these with a small piece of twine for reference—this helps me visualize where to make cuts later. The goal here is to create an open center that allows light and air to circulate freely. You'll know you're on the right track when you see a natural "V" shape forming between the main canes.
✂️ Step 2: Remove Dead and Weak Growth First
Begin by cutting out any dead, diseased, or damaged canes at their base. These are easy to spot—they're brown, brittle, or hollow inside. Make your cuts at a 45-degree angle, about ¼ inch above an outward-facing bud. This angle helps water run off and prevents rot. If you're unsure whether a cane is dead, scratch the bark with your fingernail—live wood is green underneath.
Next, remove any weak or spindly growth that's competing with stronger canes. These often grow in the center and block light from reaching the interior. I like to step back every few cuts to check the balance—you want the rose to resemble an open umbrella when viewed from above. Never remove more than ⅓ of the plant's total growth in one season, or you'll stress the rose.
✂️ Step 3: Thin and Shape for Airflow
Now focus on thinning the canopy to improve airflow. Look for branches that cross or rub against each other—these create wounds where disease can enter. Cut the weaker of the two branches at its base. For every 3-4 feet of vertical growth, aim to have 1-2 lateral branches spaced evenly. This spacing encourages stronger blooms and reduces future pruning work.
Step back frequently to check your progress. The ideal climbing rose has a pyramidal shape with the strongest canes forming the outer framework. Avoid cutting back healthy canes unless absolutely necessary—these are the rose's future blooming stems. If you're unsure about a cut, I recommend waiting until spring to decide.
✂️ Step 4: Shorten Remaining Canes Strategically
For the remaining healthy canes, shorten them by ⅓ to ½ their length, cutting just above an outward-facing bud. This encourages new growth from the base in spring. Make your cuts at the same 45-degree angle for consistency. On older canes, look for pencil-thick growth—these are ideal candidates for rejuvenation cuts.
Here's the thing—climbing roses bloom on both old and new wood, so don't over-prune. You'll see buds forming along the canes after your cuts; these will develop into next year's flowers. If you're working with a particularly vigorous rose, I recommend leaving 1-2 canes completely uncut to ensure some blooms in spring.
⏰ Step 5: Clean Up and Protect for Winter
After pruning, rake up all debris and dispose of it in the trash—not the compost bin. This prevents fungal spores from overwintering and reinfecting your rose. Apply a 2-3 inch layer of mulch around the base, but keep it 6 inches away from the trunk to prevent rot. I use shredded bark mulch because it breaks down slowly and insulates the roots.
Finally, wrap the base of the rose with burlap or rose cones to protect it from winter winds and temperature swings. Leave the top of the rose exposed—this allows snow to accumulate and provide natural insulation. Water deeply before the ground freezes to ensure the roots have moisture for dormancy. You'll know you've done it right when the rose looks tidy but still has room to breathe.
Tips & tricks for perfect winter pruning of climbing roses
Here's what nobody tells you about getting your climbing roses ready for winter—the little details that make all the difference between a struggling bush and one that bursts back to life in spring.
Cutting Angle Precision: That 45-degree angle in Step 2 isn't just decorative—it's critical. Use a protractor or even a small angle guide on your pruners to ensure consistency. The angle helps water runoff and prevents moisture from pooling where cuts enter the cane. I've seen too many gardeners skip this detail, leading to rot and disease. When you're making cuts above buds, make sure the angle faces outward from the center of the plant to direct growth away from the center.
Bud Identification: In Step 2 and Step 4, you'll be cutting above outward-facing buds, but how do you know which ones to choose? Look for buds that are plump and slightly pointed—they're ready to grow. Avoid buds that are shriveled or have cracks. Pro tip: If you're unsure, make your cut just above where you see the most vigorous bud. Remember, climbing roses bloom on both old and new wood, so don't be afraid to make confident cuts. The key is to visualize where you want new growth to emerge.
Strategic Canopy Visualization: When you step back in Step 3 to check your progress, you're not just admiring your work—you're assessing airflow. The ideal climbing rose should resemble a pyramid when viewed from above. This shape allows sunlight to penetrate to the center and prevents humidity from lingering where disease thrives. I recommend sketching a simple diagram before you start. Draw your rose's current shape and mark where you'll make cuts to achieve that pyramid form. This pre-visualization helps you avoid the common mistake of creating a dense center that blocks light.
Winter Protection Layering: In Step 5, that 2-3 inch layer of mulch isn't just about insulation—it's about moisture regulation too. Too little mulch leaves roots exposed to temperature swings, while too much can suffocate the plant. I've found that shredded bark mulch works best because it breaks down slowly and provides consistent coverage. For extra protection in harsh winters, consider adding a layer of straw or leaves on top of the mulch. And remember, leave the top of the rose exposed—this allows snow to accumulate naturally, providing additional insulation without smothering the plant.
Pro Tips for Prune A Climbing Rose Bush For Winter
- Here's what nobody tells you about getting your climbing roses ready for winter—the little details that make all the ...
- Cutting Angle Precision: That 45-degree angle in Step 2 isn't just decorative—it's critical. Use a protractor or even...
- Bud Identification: In Step 2 and Step 4, you'll be cutting above outward-facing buds, but how do you know which ones...
Frequently asked questions
about pruning climbing roses for winter can save you time and stress. Here are answers to common concerns to ensure your roses thrive next season.When is the exact best time to prune climbing roses?
The ideal window is late fall to early winter—after the first hard frost (when the plant is dormant) but before temperatures drop below 20°F (-7°C). This timing balances protection from cold and preparation for spring growth. If you miss it, wait until early spring before buds swell.
What if I accidentally cut into old wood? Can I still save the rose?
Don’t panic! Climbing roses are resilient. If you cut into old wood, just make a clean cut just above a healthy bud or lateral branch. Avoid leaving stubs—always cut at a 45° angle—to prevent disease. The plant will recover as long as the root system is healthy.
Do I need to remove all dead or diseased branches now, or wait?
Remove dead or diseased branches immediately—even if it’s not peak pruning season. Diseased wood can harbor pests or fungi over winter. Sterilize your pruners with rubbing alcohol between cuts. Healthy branches can wait until your main pruning session in late fall/winter.
Can I prune climbing roses in spring instead of winter?
Yes, but with a caveat: Light pruning in early spring (just before new growth) is fine, but avoid heavy pruning until after the last frost. Winter pruning gives roses a head start on energy storage for spring blooms. If you skip winter pruning, do a thorough job in late winter to avoid overstimulating early growth that could be damaged by frost.
What if my roses are in a windy or exposed area—should I prune differently?
Exposed roses need extra care. Prune to create an open center to improve airflow, reducing frost damage and fungal risks. Avoid heavy topping—keep branches at varying lengths to prevent them from whipping in the wind. Consider wrapping young canes in burlap for added protection.
Wrapping up and next steps
Pruning your climbing rose bush for winter isn’t just about tidying up—it’s an investment in next year’s vibrant blooms and healthier growth!
By removing dead or weak canes, balancing the canopy, and making clean cuts, you’re setting the stage for a stunning spring revival. 🌸 With the right tools and a little patience, you’ll master this essential task in no time.
Ready to take your rose care to the next level? Grab your pruners and schedule a quick check-in with your roses every few months—early spring and late summer are great times to assess their progress. Happy pruning! ✂️