
Pruning
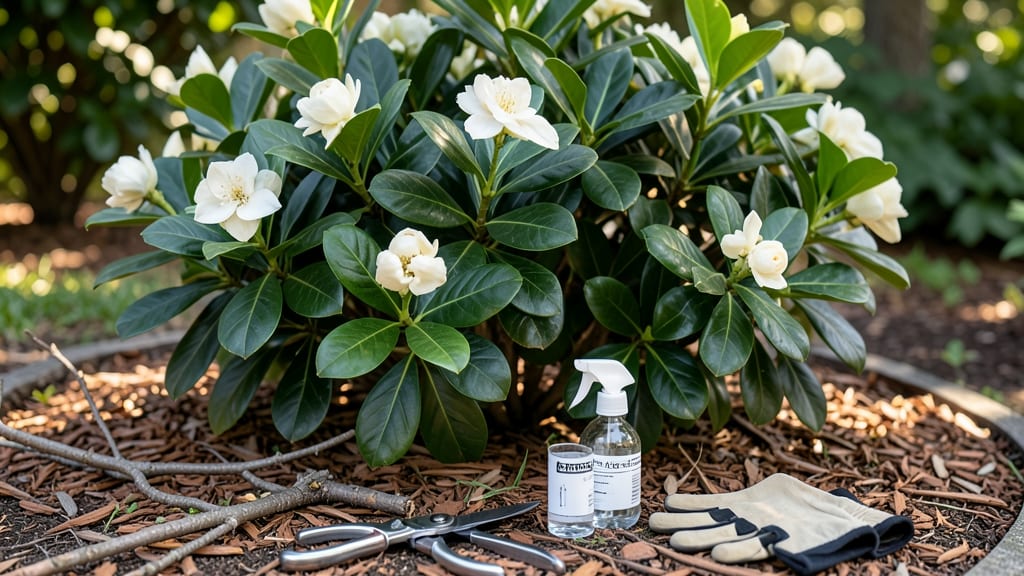
Pruning gardenia shrubs transforms a leggy mess into a fragrant, bushy beauty. 🌿 I’ve learned the hard way that timing and technique make all the difference—cut at the wrong moment, and you’ll sacrifice next year’s blooms. The key is working with the plant’s natural growth cycle, not against it.
You’ll need sharp bypass pruners, rubbing alcohol for sanitation, and a clear day to avoid stressing the plant. Gardenias bloom on old wood, so prune lightly after flowering to encourage new growth without sacrificing future blooms. Think of it as sculpting, not hacking—every cut shapes the plant’s future.
By following these steps, you’ll end up with a denser, more fragrant shrub that blooms prolifically. The secret? Prune just after flowering (late spring to early summer) and avoid heavy cuts—small adjustments keep the plant happy without shocking it.
This method works for both mature shrubs and young plants, and the same principles apply whether you’re shaping a hedge or a standalone specimen. Let’s get those blooms coming back bigger and better every year.
📚 In This Guide
- What you need
- Instructions
- Tips and common mistakes
- Wrapping up and next steps
What you need
- ● Pruning shears: Bypass pruners (for clean cuts on small stems) or felco pruners (for precision). Size: 5–7 inches, sharp and sterilized.
- ● Loppers: Bypass loppers (for thicker branches, 1–2 inches in diameter). Quantity: 1 pair.
- ● Hand pruners: Anvil pruners (for small, dead growth). Quantity: 1 pair (backup).
- ● Disinfectant: Rubbing alcohol (70%+) or bleach solution (1 part bleach to 9 parts water) to sterilize tools between cuts.
- ● Garden gloves: Heavy-duty, cut-resistant (gardenia thorns are sharp!). Material: Nitrile or leather.
- ○ Pruning saw: (Optional but helpful for very thick branches—avoid if your gardenias are young). Type: Curved-tooth saw for clean cuts.
- ● Garden twine or zip ties: (For securing branches during pruning if needed). Quantity: A small roll.
- ● Pruning sealant: Tree wound dressing (for large cuts, though gardenias heal well without it).
- ● Ladder or step stool: (If your gardenia is tall—safety first!).
- ● Trash bag or bucket: (For collecting clippings—gardenias can be composted after drying).
- ● Sharpie or marker: (To label branches if you’re doing structured pruning for training).
- ● Hose or spray bottle: (To rinse tools and clean up sap after pruning).
Instructions for pruning gardenia shrubs
Here's the exact method I use to keep my gardenias blooming heavily while maintaining their natural shape—no harsh cuts or guesswork.
✂️ Step 1: Time Pruning for Optimal Bloom Production
Prune gardenias immediately after their spring bloom cycle ends, typically in late May to early June in most climates. This ensures you don't cut back flower buds that form later in summer for the next season's blooms. Gardenias bloom on old wood, meaning flowers develop on last year's growth—not new shoots—so aggressive summer pruning will leave you with bare stems.
If you missed the spring window, wait until early fall (September-October) before new growth hardens. Never prune in winter when the plant is dormant, as this stresses the shrub unnecessarily. Look for the first signs of new leaf growth in spring as your cue—this indicates the plant has finished blooming for the season.
✂️ Step 2: Remove Dead, Diseased, or Crossing Branches First
Start by eliminating any dead wood—branches that are completely brown, brittle, or show no green beneath the bark when scratched. Next, cut out branches with diseased spots (blackened leaves, powdery mildew) or pests (aphid clusters, scale insects). Sterilize your pruners between cuts by wiping with 70% isopropyl alcohol to prevent spreading pathogens.
Remove branches that cross or rub against each other—these create wounds where disease enters. I always make these cuts first because they're the most critical for plant health. Use sharp, clean pruners to make 45-degree cuts just above an outward-facing bud or leaf node. Avoid leaving stubs—they invite rot and weaken the plant.
✂️ Step 3: Shape the Shrub with Strategic Cuts
Step back and visualize the gardenia's natural shape—a rounded, slightly dome-like form. Start thinning from the center outward, removing up to one-third of the oldest, thickest branches to improve airflow and light penetration. Never remove more than 25% of the foliage in a single pruning session, as this stresses the plant.
For height control, cut back the longest branches by one-third to encourage bushier growth. Make cuts just above a leaf node where new growth will emerge. Avoid "heading back" (cutting into old wood) unless you're rejuvenating a severely overgrown shrub—this reduces next year's blooms. Always prune just above a bud that faces outward to maintain the plant's natural shape.
💧 Step 4: Post-Pruning Care for Healthy Recovery
Water the gardenia deeply after pruning to help it recover from the stress of cutting. Apply 2-3 inches of mulch around the base (but not touching the trunk) to retain moisture and regulate soil temperature. Gardenias prefer slightly acidic soil (pH 5.0-6.5), so if your area has alkaline soil, amend with sulfur or peat moss before the next growing season.
Fertilize lightly 4-6 weeks after pruning with a balanced, slow-release fertilizer (10-10-10 or 8-3-9). Avoid high-nitrogen fertilizers—they promote leafy growth at the expense of flowers. Watch for new growth emerging from the pruned areas within 3-4 weeks. If you see no new shoots after 6 weeks, the plant may need more sunlight or better-draining soil.
Tips & tricks for pruning gardenia shrubs
A few strategic moves will keep your gardenias thriving—and blooming like crazy—for years to come.
Timing is Everything: The late May to early June window is non-negotiable for spring pruning because gardenias bloom on old wood. If you cut too early, you risk removing next season's flower buds before they form. I've seen gardeners miss this window and end up with sparse blooms the following year—don't make that mistake. For fall pruning, wait until September-October when new growth has hardened, but don't delay past early November when dormancy begins.
Bud Placement Matters: When making cuts in Step 3, always look for the outward-facing bud just above your cut line. This ensures new growth will continue the plant's natural shape rather than growing inward where it'll create a dense, shaded center. I've learned the hard way—cutting too close to a bud or making a straight cut can leave stubs that rot and invite pests. A proper 45-degree cut just above the bud gives you the cleanest recovery.
Health First: Step 2 isn't just about aesthetics—it's your plant's first line of defense. Diseased branches can spread pathogens throughout your gardenia if left unchecked. I keep a small bottle of 70% isopropyl alcohol in my gardening toolkit specifically for sterilizing pruners between cuts. This simple habit has saved my gardenias from multiple fungal infections over the years. Also, never skip removing crossing branches—they create entry points for pests and limit airflow, which is crucial for preventing powdery mildew.
Post-Pruning Recovery: The 4-6 week fertilization window after pruning is critical for rebuilding the plant's energy reserves. I've found that gardenias respond best to a balanced fertilizer like 10-10-10 during this period. The key is patience—waiting for new growth (3-4 weeks) before fertilizing ensures the plant isn't stressed by both pruning and feeding simultaneously. If you see no new shoots after 6 weeks, it's a sign your gardenia might need more sunlight or better-draining soil rather than more fertilizer.
Pro Tips for Pruning Gardenia Shrubs
- A few strategic moves will keep your gardenias thriving—and blooming like crazy—for years to come.
- Timing is Everything: The late May to early June window is non-negotiable for spring pruning because gardenias bloom ...
- Bud Placement Matters: When making cuts in Step 3, always look for the outward-facing bud just above your cut line. T...
Frequently asked questions
Got questions about keeping your gardenia shrubs lush and blooming? Here are some of the most common concerns—plus expert answers to help you prune like a pro!
When is the best time to prune gardenia shrubs for maximum blooms?
The ideal time is right after flowering (late spring to early summer). This gives your shrub time to recover and set buds for next season. Avoid heavy pruning in fall or winter, as gardenias are sensitive to cold stress. Light shaping in early spring is fine, but focus on removing dead or overgrown branches.
How do I prune gardenia shrubs without killing them?
Gardenias are delicate, so never cut more than 1/3 of the plant at once. Use clean, sharp shears to make angled cuts just above a leaf node or bud. Avoid pruning in extreme heat or cold, and water thoroughly before and after to reduce shock. If you see yellowing leaves post-prune, it’s a sign of stress—trim back slightly and monitor.
Can I prune gardenia shrubs in winter?
Light maintenance (like removing dead branches) is okay in mild winters, but avoid heavy pruning. Gardenias are evergreen but frost-sensitive. Pruning in winter can expose tender growth to cold damage. If you must prune, wait until late winter (just before buds swell) or stick to spring/summer for best results.
What should I do if my gardenia shrub stops blooming after pruning?
Over-pruning or cutting back too late in the season can disrupt blooming. To fix it:
- Reduce pruning to only dead or crossing branches next time.
- Fertilize with acid-loving plant food (like 8-3-9) in early spring.
- Ensure it gets 6+ hours of sunlight and consistent moisture.
Are there alternatives to pruning if my gardenia is overgrown?
Yes! If pruning feels risky, try:
- Gradual thinning: Remove a few branches at a time over months.
- Pinching: Lightly pinch back new growth in spring to encourage bushier growth.
- Layering: Bend low branches to the ground, weigh them down, and cover with soil to root (great for propagation!).
Wrapping up and next steps
Pruning your gardenia shrubs doesn’t have to be intimidating—with the right timing, tools, and technique, you’ll enjoy lush, fragrant blooms year after year! 🌸 Remember, consistency is key: light trims in spring and summer keep them healthy, while a deeper cut in late winter sets the stage for new growth.
Your gardenias will reward you with vibrant foliage and intoxicating fragrance if you stay patient and attentive.
Ready to take the next step? Grab your pruners and schedule a quick session this weekend—your gardenia’s future beauty starts with just a few snips! For extra confidence, jot down your notes or snap a photo of your shrub’s shape before you begin. Happy pruning! ✂️✨